Build Your Own Kaleidoscope
Michael Barndt
For the Beginner
For the beginner, kaleidoscopic “magic” is simple to create and can be inexpensive. Kits for children have been sold commercially with plastic or cardboard tubes, polished metal or Mylar “mirrors”, masking tape and plastic beads for only a few dollars. More expensive and expansive kits that contain pre-cut front surface mirrors and stained glass bodies are also available for purchase for the hobbyist.
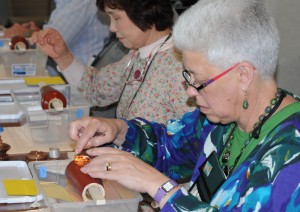
Take a class at the next Expo
Many people learn about how kaleidoscopes are made by participating in a kaleidoscope making class. The instructor brings materials and often prepares difficult steps – such as cutting mirrors – in advance. Kaleidoscope retailers, craft schools or Brewster Kaleidoscope Society expos offer these options. More advanced technique classes are also available. Joining the KBKB (Kaleidoscope Builders Knowledge Base) discussion group allows beginners to communicate with others online for advice in making kaleidoscopes or to learn the best sources of materials.
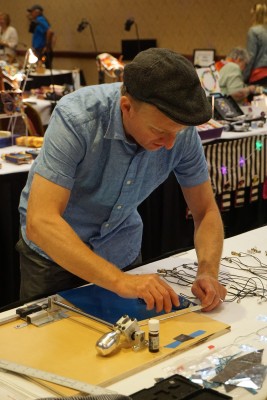
Cutting Mirrors

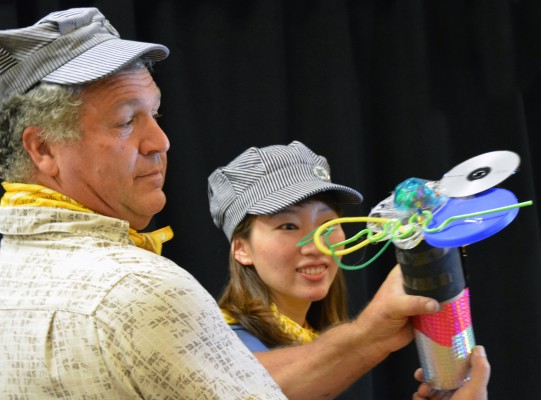
When you are ready to begin constructing your own kaleidoscope, it begins with cutting mirrors so that they fit together at tight, pre-determined angles. Cutting board systems and basic jigs are available to assist in this challenge. Mirrors are bound together and often enclosed within a basic tube made from a variety of media. An object case filled with small objects or consisting of wands, wheels or marbles may be attached to create the image. Small objects may be enclosed in a dry or liquid object cell. Part of the artistic experience begins with selecting object materials that balance color, symmetry and variety for a personally preferred interior image.
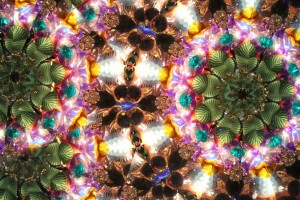
Image Effects
 Kaleidoscope construction offers many challenges. Different image effects begin with precise mirror cutting. Viewing may be enhanced by adding a lens as part of the eye opening. Each exterior or enclosure option for the kaleidoscope body may require learning a craft – turning a wood tube, soldering stained glass, molding a ceramic cylinder, or adding visually appealing decoration to the exterior of the kaleidoscope. Even learning basic lamp working to prepare small glass pieces for the object case is not difficult and brings an exciting dimension to the image.
Protecting the interior image requires enclosing the mirror system so that dust cannot enter. Metal materials and solder can be protected from oxidation. Woods – especially combinations of woods – can be treated to reduce their cracking from drying out. Turning elements may wear or stick if not properly prepared and lubricated. When objects are enclosed in a liquid cell, careful techniques need to be learned to prevent the cell from leaking. Many artists and enthusiasts are willing to share with the beginner helpful hints and their experiences.
Advanced Procedures
Advanced procedures challenge even the professional kaleidoscope artist. Many who excel in an art form may collaborate with others who are able to build reliable object cells less vulnerable to leaking liquid or metal rings that allow easy turning of an object cell. Many unusual optic effects may be discovered by experimenting or by working out the mathematics of reflective patterns.
Body Construction

Glass artists may accept the challenge of “blown hot glass” or “slumped” or “fused” construction. Ceramic artists may sculpt and fire complex enclosures. Wood artists may create sculptures that enclose a kaleidoscope or apply inlaid wood patterns. There are few limits to the challenge of creating a kaleidoscope that is a work of art.